| If you find any of the following information
helpful, please link to this article using of the following code: <a href="http://radiationrefuge.com/Hub-Tent-for-use-with-Gazebo-news_1_1_6_1_116" title="Radiation Refuge">Radiation Refuge</a> |
|
|
Author: Sue McEwen | |
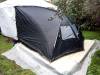 |
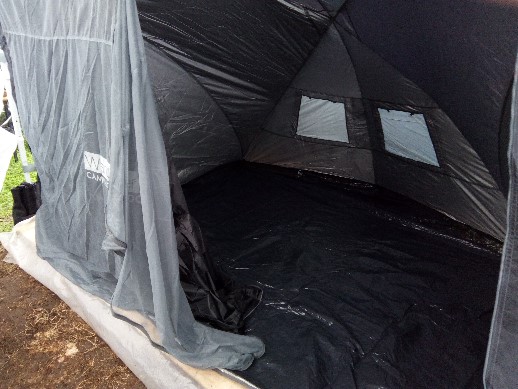
Wanderer Gazebo Hub - 6 Person - Dome TentHub Tent for use with Gazebo
|
Wanderer Gazebo Hub - 6 Person - Dome Tent Front of Hub Tent from inside white gazebo (gazebo must be bought separately). Mesh insect screen and no-see-through door can be zipped together so there is only one door to open, or they can be left separate. There is some sagging to be seen at the corners of the tent. This is because the tent has been raised on a pallet floor, while the gazebo is not. The height of the tent is meant to be 2.1m. The inside of the tent is spacious. Plenty of room for up to 6 people, or one queen sized bed. Its 2.5m deep by 2.9m wide. The Wanderer Gazebo Hub Dome Tent is available from BCF here: http://www.bcf.com.au/online-store/products/Wanderer-Gazebo-Hub-6-Person.aspx?pid=291494 It has no fly but I found the walls and roof don't sweat when it rains. Check the seams when it rains and if there is any leakage this can be remedied with sealer available from camping stores. Its an easy fix. If it becomes too hot in summer, I would recommend shading the exterior with a tarp to create a tropical roof. In winter its quite comfortable. Due to heavy prolonged rainfall the tent did leak through the seams but as bed was raised off floor there was no water damage to contents. Easier for two people to erect but with the help of some rope to lift the centre of the tent where the poles cross (tied to gazebo) its not hard for one person to do it. The poles to be inserted through sleeves in the tent as supports are best to have the pins connected along the edge of tent inserted in the ends of the poles first, then have the other end of the poles placed into the end pockets on the appropriate places provided of tent. The instructions that come with the tent are to an ok minimum standard. In the pictures above, the tent is seated on platform of pallets lined with ply. I did this to make sure I was not flooded out should the rain get too enthusiastic. Always a problem when using tents. Pallets are usually freely available with only one of two labelled brands which are not. The pallets were placed on tarp to help resist having the wood rot, then ply was placed on the pallets, UV protected plastic on top of the ply, with the tent on top of that. | |